PathAway - Tips
How to use the Route Designer
PathAway has great features not only for GPS tracking and navigation, but also for planning your adventures. This is usually done using PathAway’s sophisticated “Routing” feature.
Recently PathAway was released with a new powerful Route Designer tool with undo, redo, edit, add/move/delete route points with a single tap. In PathAway PRO you can create routes to Follow Roads/Trails. Simply select two points and PathAway will fill in the route automatically. Here’s a quick overview of this amazing tool.
|
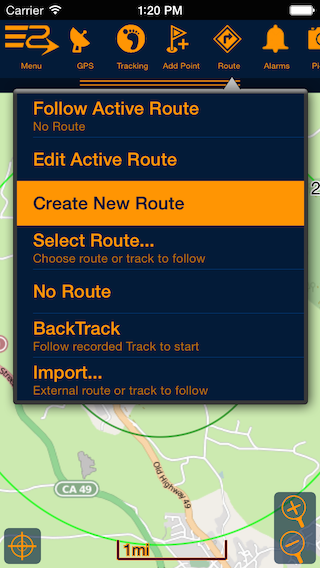
First Start on the main map screen and tap the “Route” icon. From this menu choose the option “Create New Route”. This will bring up the PathAway Route Designer. |
|
|
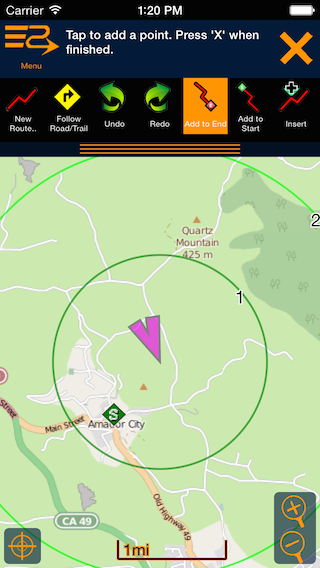
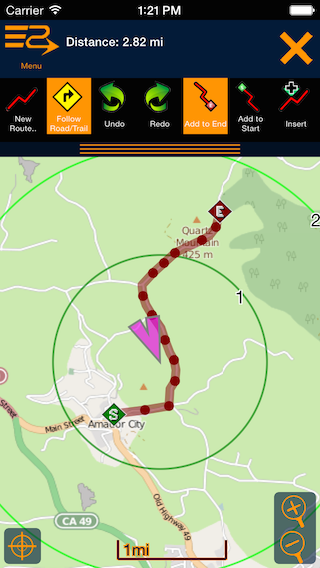
Next, drag the map so your starting location is in view, then tap on the where your start location is.
The green ‘s’ icon will show to highlight your starting position. |
|
|
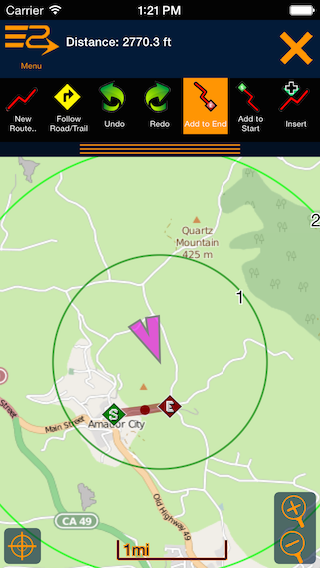
Now start tapping the other locations on the map to build the route. |
|
|
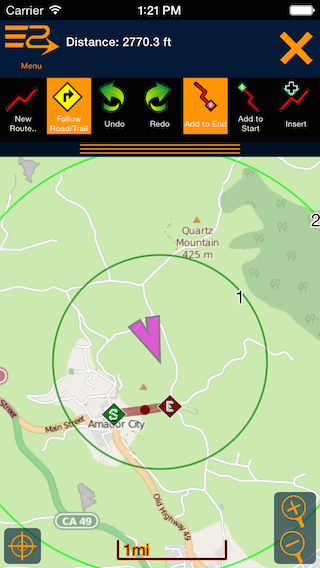
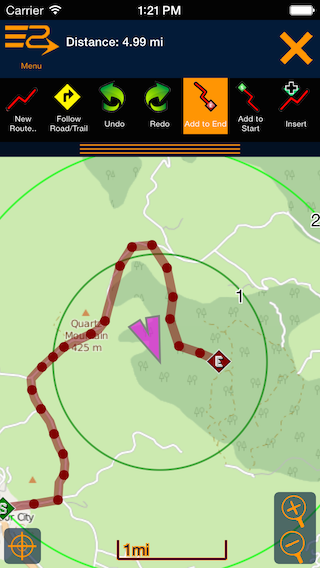
To speed things up now, if your route includes following some pre-marked roads or trails, you can turn on the “Follow Road/Trail” option. |
|
|
Now you can simply tap on the endpoint where you want the road/trail to follow and PathAway will automatically retrieve the path along the road.
Note, this feature uses an internet connection to retrieve the points for the route. |
|
|
Once you’re done with the on-road portions, turn off the Follow Road/Trail and continue adding points to the route. |
|
|
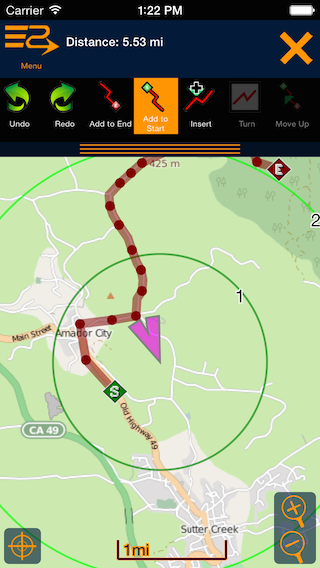
PathAway provides many options for modifying the route if you didn’t get it quite right the first time, or want to add or insert more points to the route.
To add points to the start of the route, scroll to and press the “Add to Start” tool. Now when you add points, they will be added to the start of the route instead of the end. |
|
|
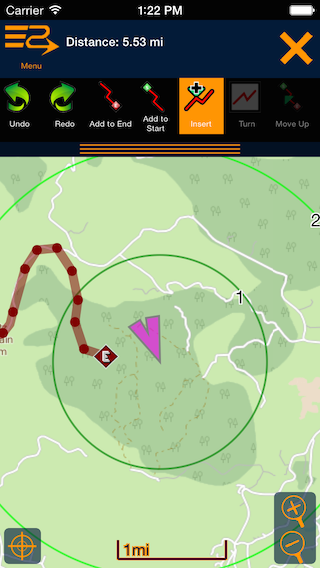
The “Insert” tool allows you to add additional points between existing points in the route. |
|
|
Just turn on the “Insert” tool and tap near the existing points. The route will be extended between the two closest points you tapped on. |
|
|
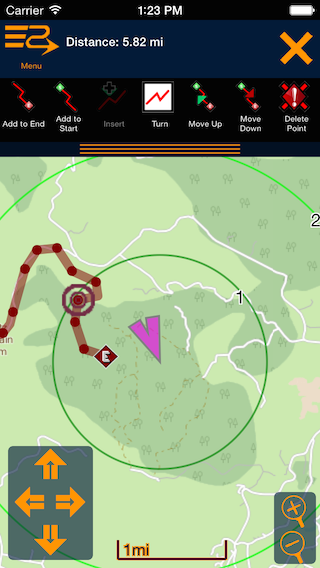
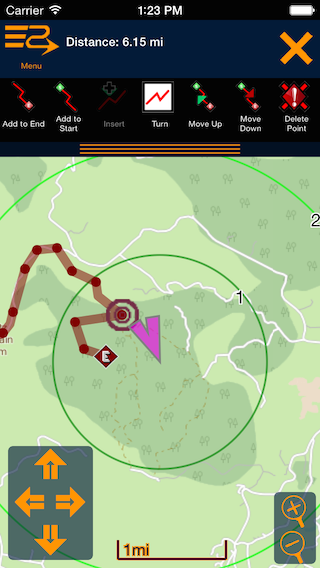
You can even edit the existing points on your route. Simply tap on the point you want to move or delete to select it. You will see the point highlighted with a circle around it. |
|
|
No just drag the point to the new location. If you have only small adjustments to make on the point, then use the arrow bars in the bottom left corner to “nudge” the point to the precise location you want. |
|
|
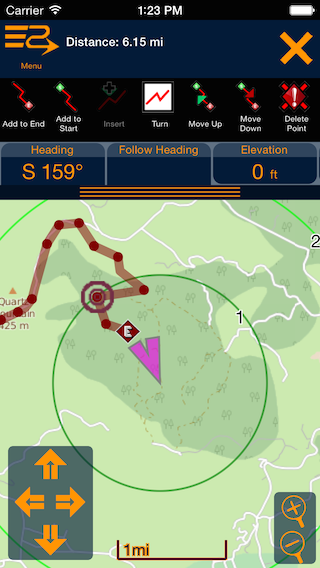
To remove points, use the “Delete Point” tool. |
|
|
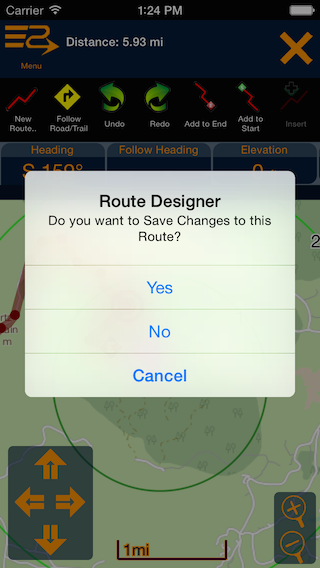
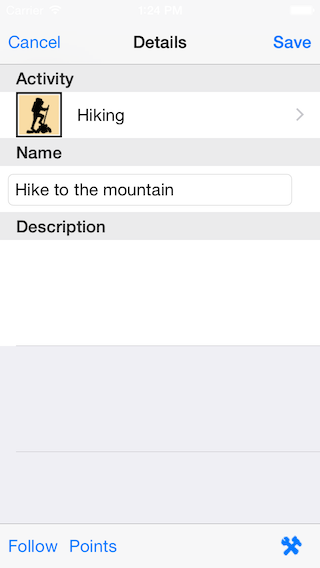
Finally, when you’re satisfied with the route, press the ‘X’ button in the top right corner to exit Route Designer and save your route. |
|
|
Give the route a name and assign its “Activity” type. In this case its set to “Hiking”. |
|
|
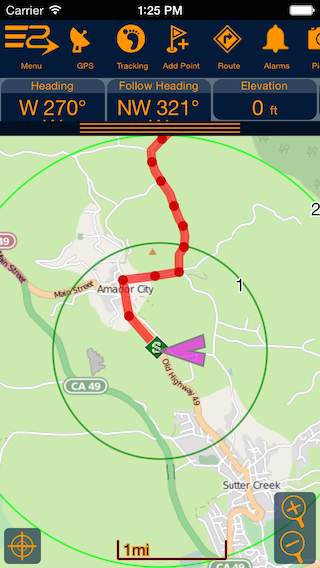
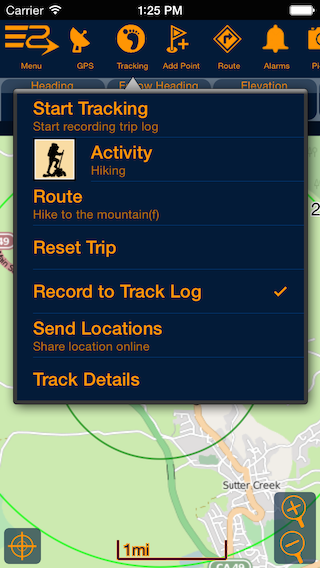
Now your route is ready to be used for navigation. To get started on your way, enable the GPS “Tracking feature by pressing the “Tracking” tool.
|
|
|
Now, start your hike and make sure you stay on the “Red Line”! If not, PathAway’s alarms will let you know you’re “Off-Track”. |
|